
diddle31.03.2010 21:47
sorry jungs ,ich habe es ins english gemacht 
Hi ,this is my review of the new killer rc light controller and the killer rc killer bee V2s(the spektrum version) I use a spektrum DX3R
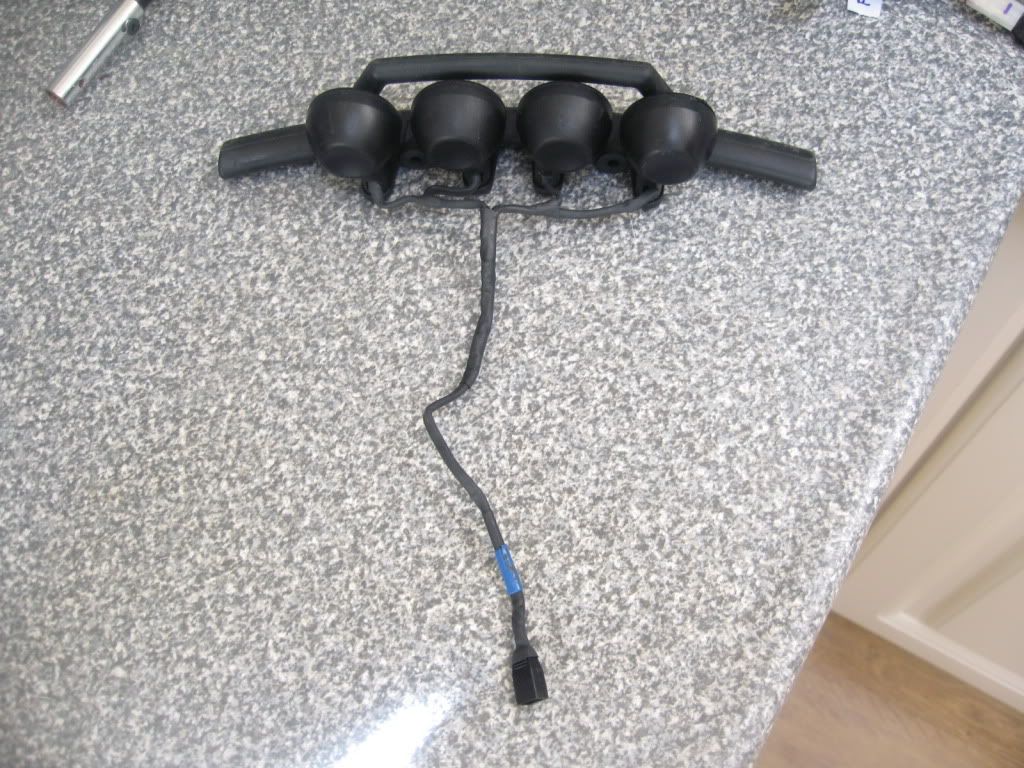
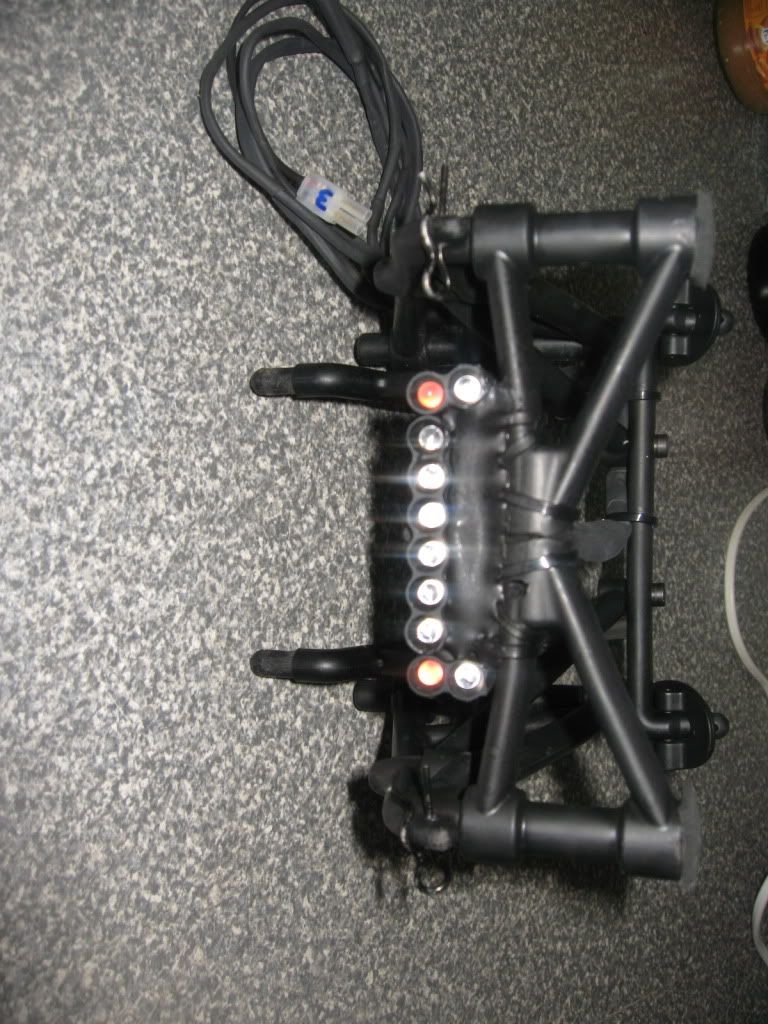
First of all, I did it the hard way by making the leds my own(the rear one,s)
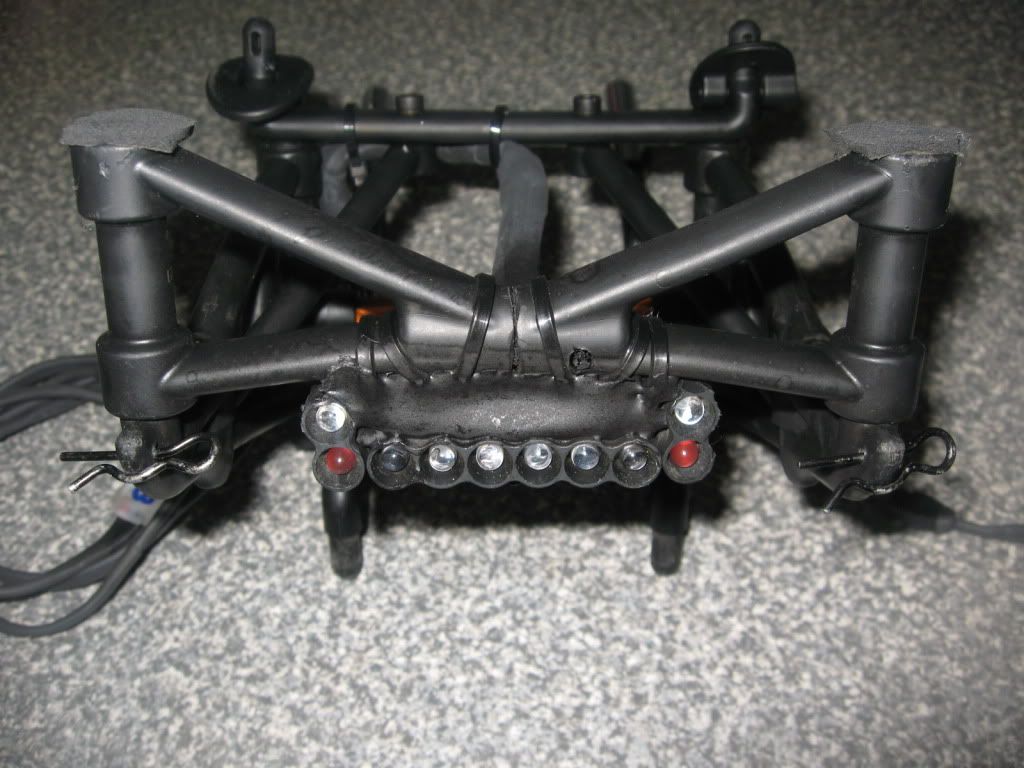
You can easily buy the rear and front leds at killer rc and you save yourself some soldering time and hassle! but if you are like me ,and like it to do something different,here is one of the many ways to do it !!
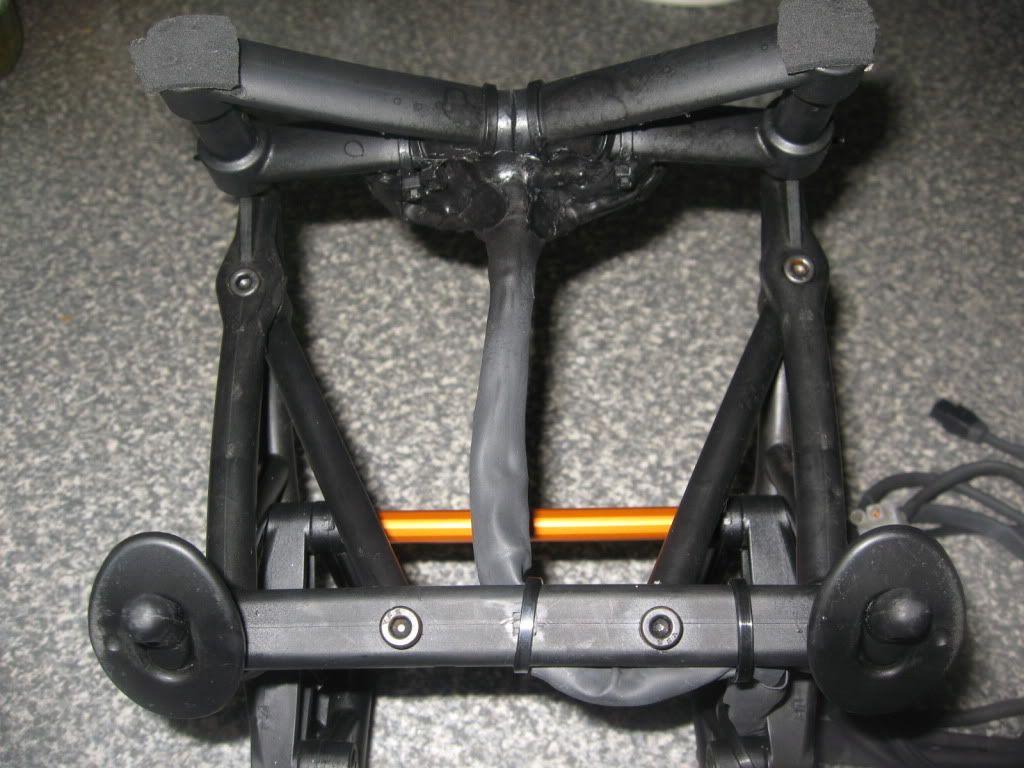
the reason that I only use one rear light in the centre ,and attach t at the car is mainly because of power saving,and I wane take the body of without wires.
Enough said for now, first a video of the functions !!
http://www.youtube.com/watch?v=VEBVMVf2Mis
it the rear lights are a little bit different than the standard setting because I have split the leds and took some other colours at the back
yellow-red*/ red-red-red-red-red\ red*-yellow(every led has its own resist)
This means that the rear lights are divided into 3 sections
1>yellow-red* left
2>red-red-red-red-red(middle portion)
3>yellow-red* right
(red* is a different colour red)
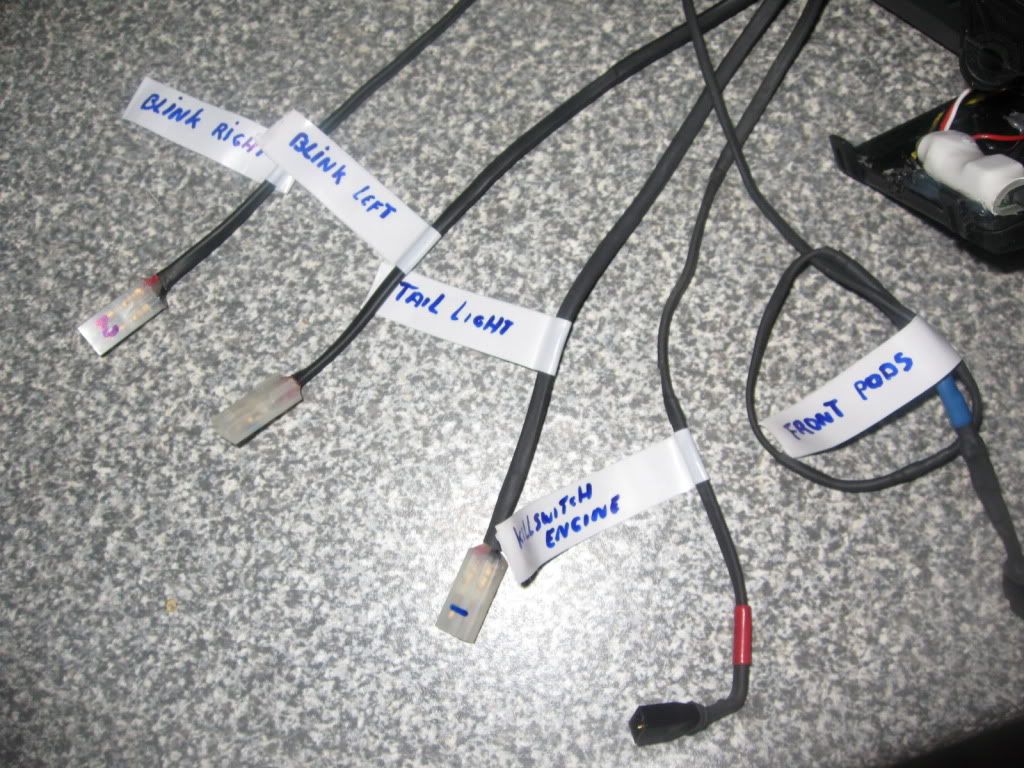
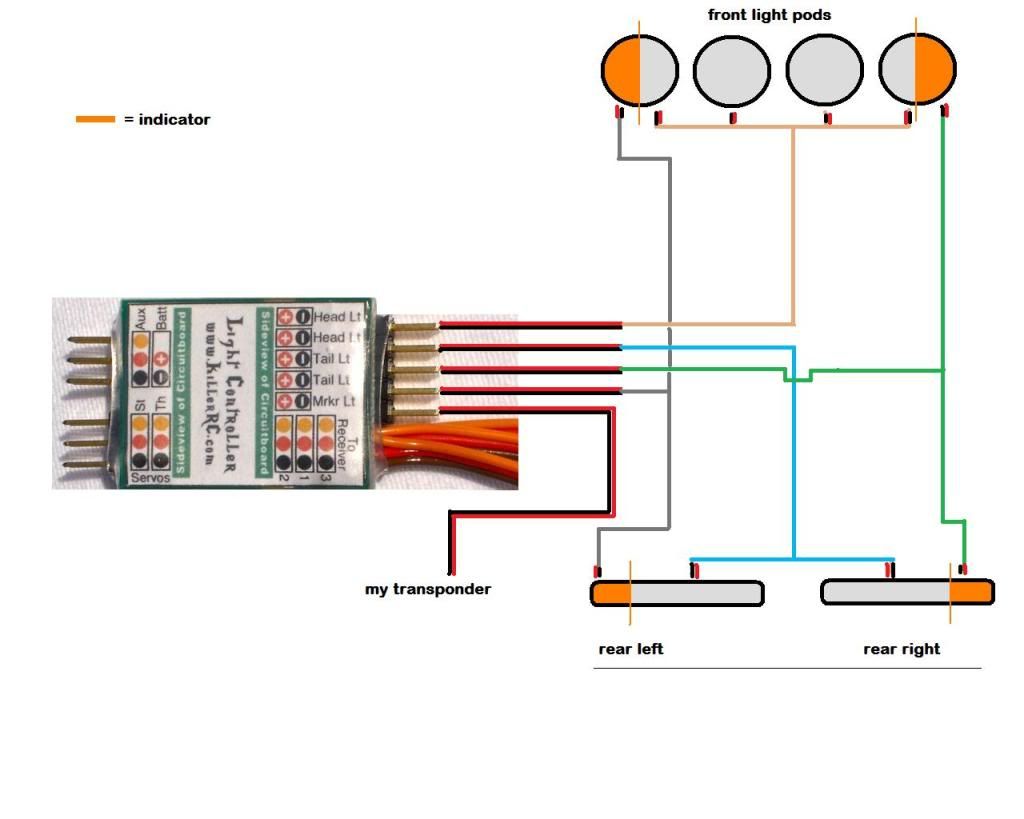
Section1 and 3 is put to tail lt(left/right/brake)
Section2 is put into head lt (there are 2 head lt I have used the other for the front lightpods)
Whit this way you get the effect I used on my setup
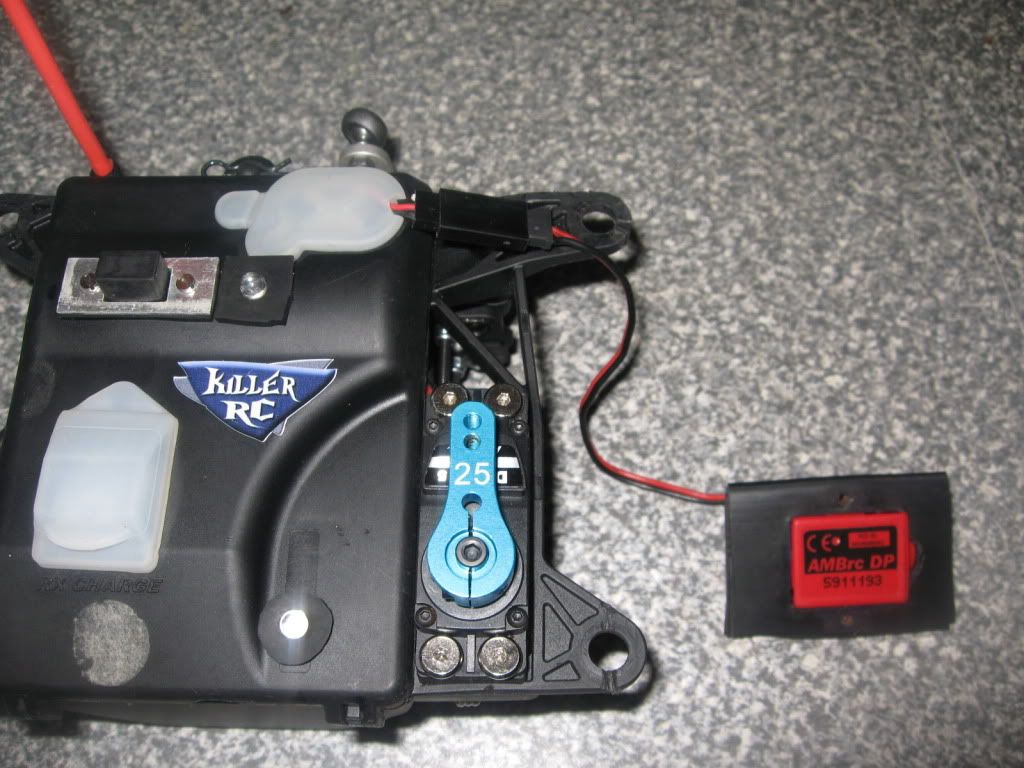
the marker lt is now used by me for the transponder (thanks killer rc for the tip)but you can also use it for any other continue power use
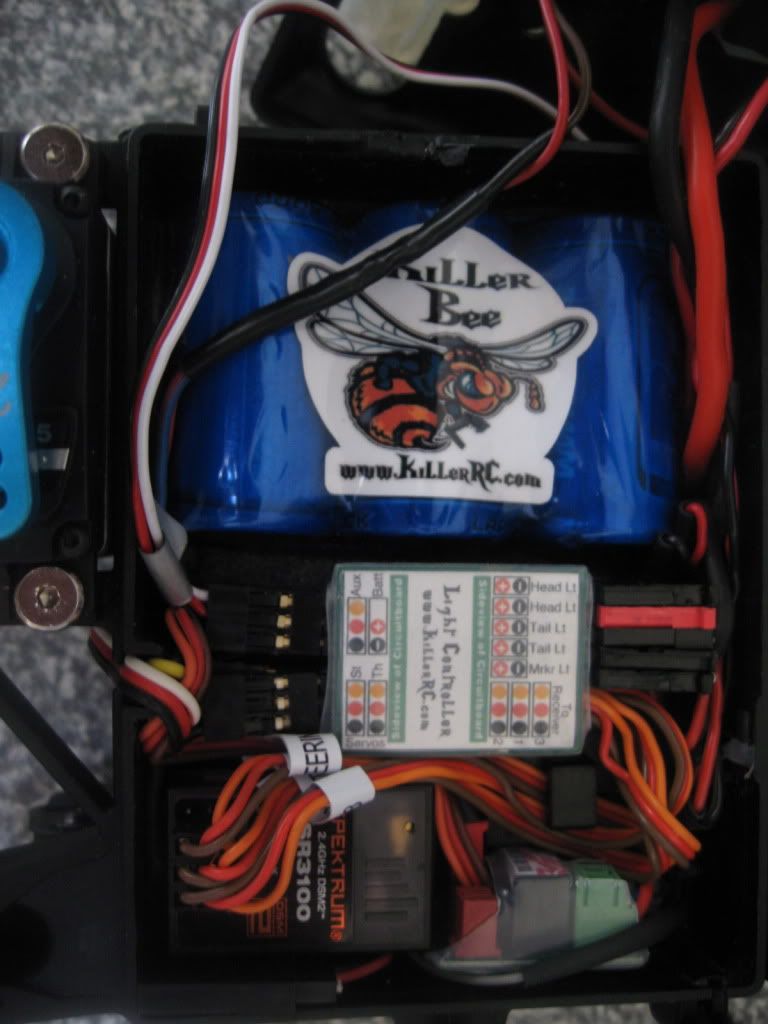
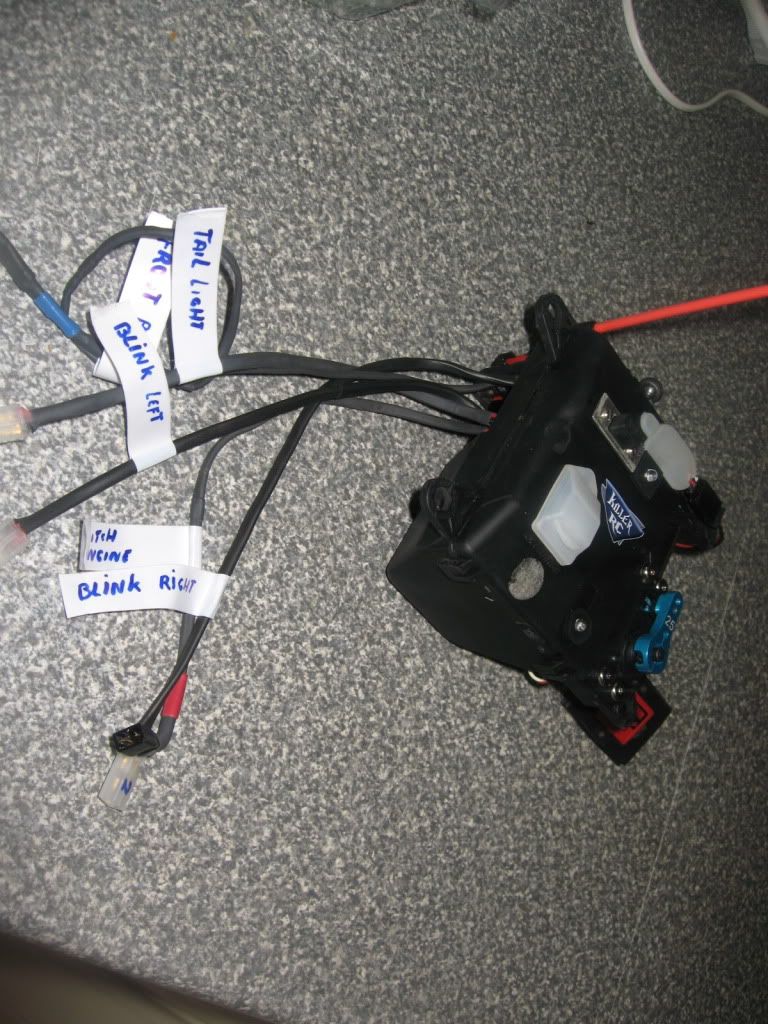
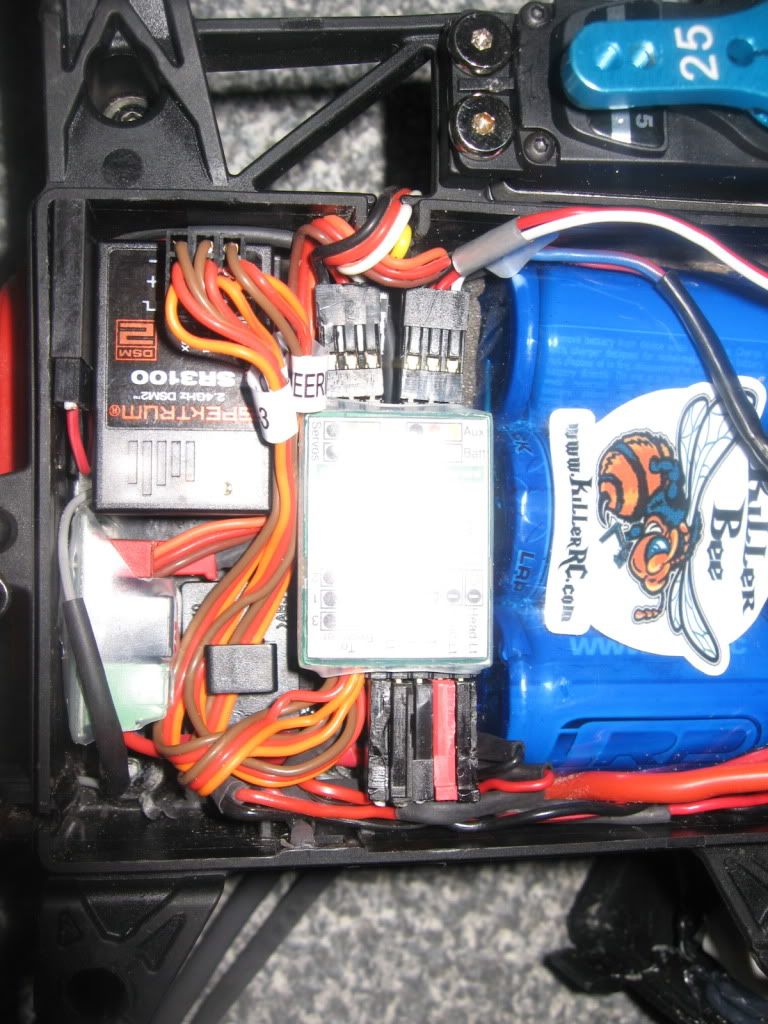
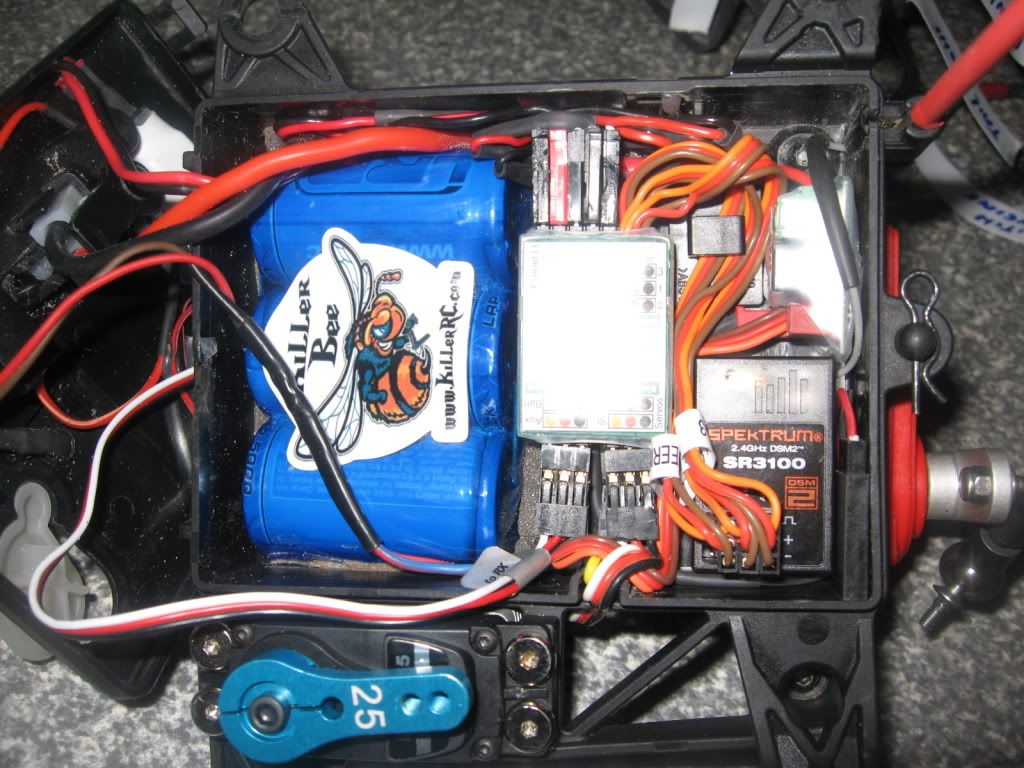
on top of my receiver box you will see 2 red leds
the one close to the on/off button is the control led of the killer bee
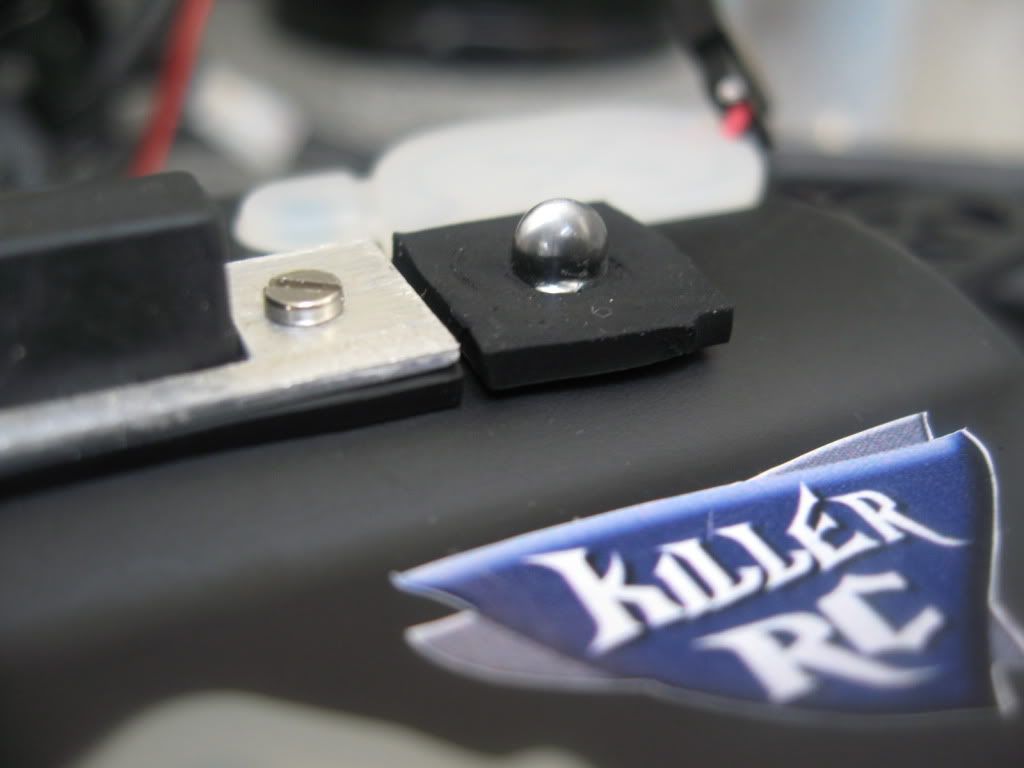
,and the one near the charge plug is mine voltlimmiter led(i use a high voltage battery so need v6 volt limmiter to protect the servo,s)
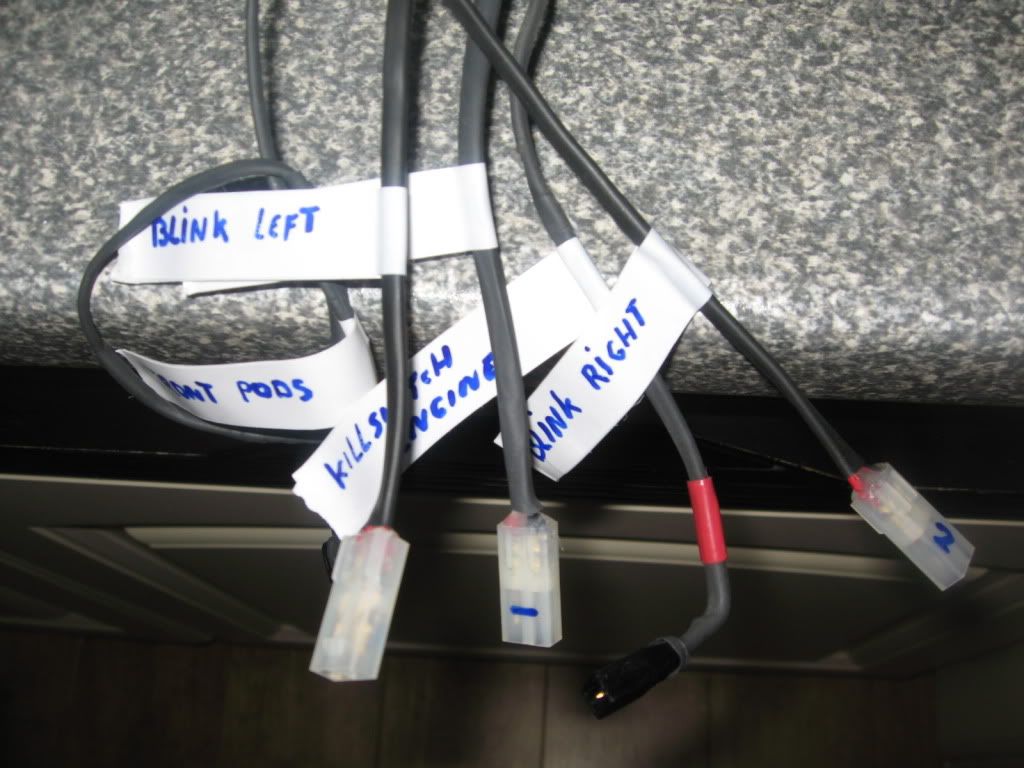
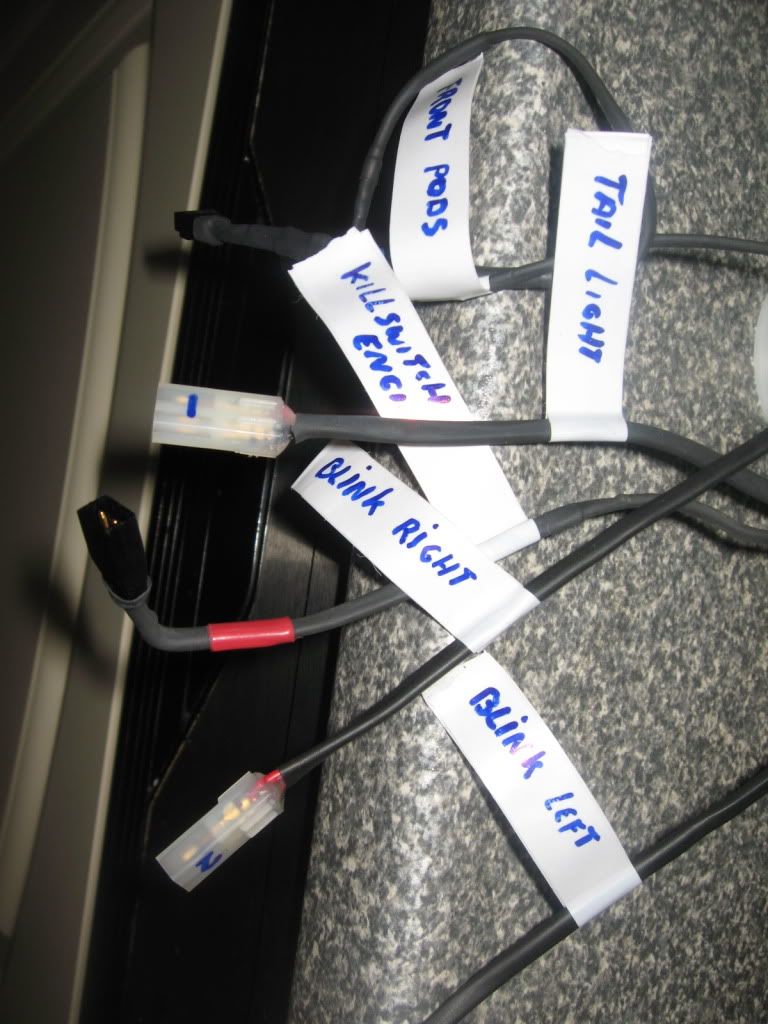
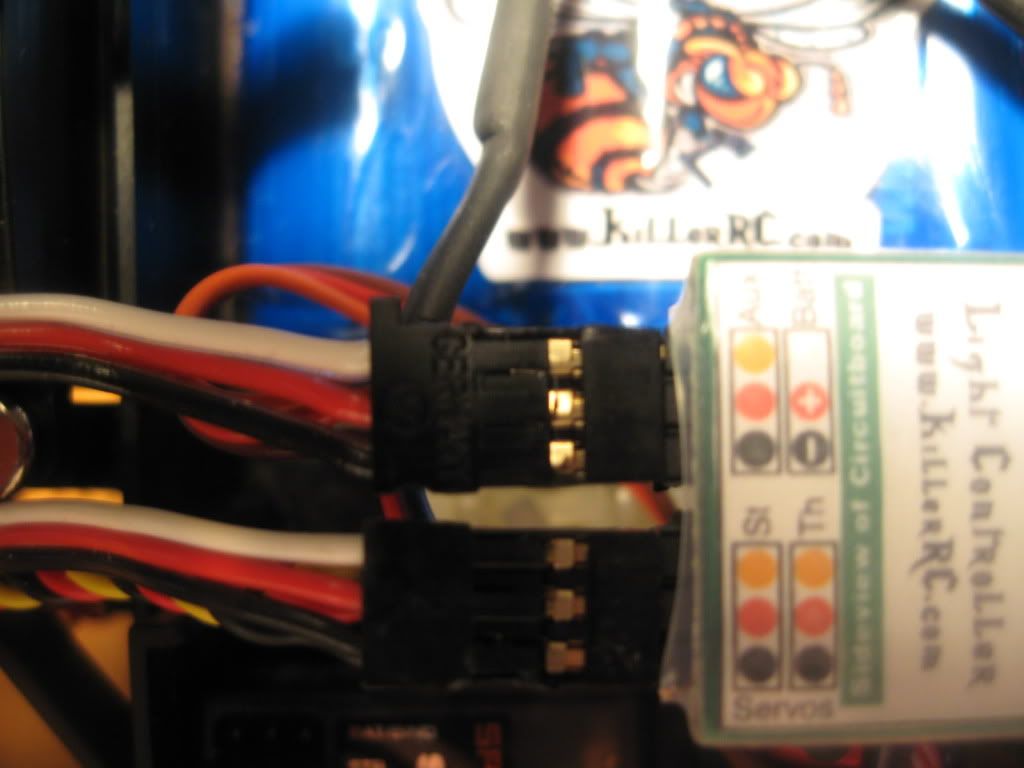
Installation was a breeze ,indeed plug and play !!!!
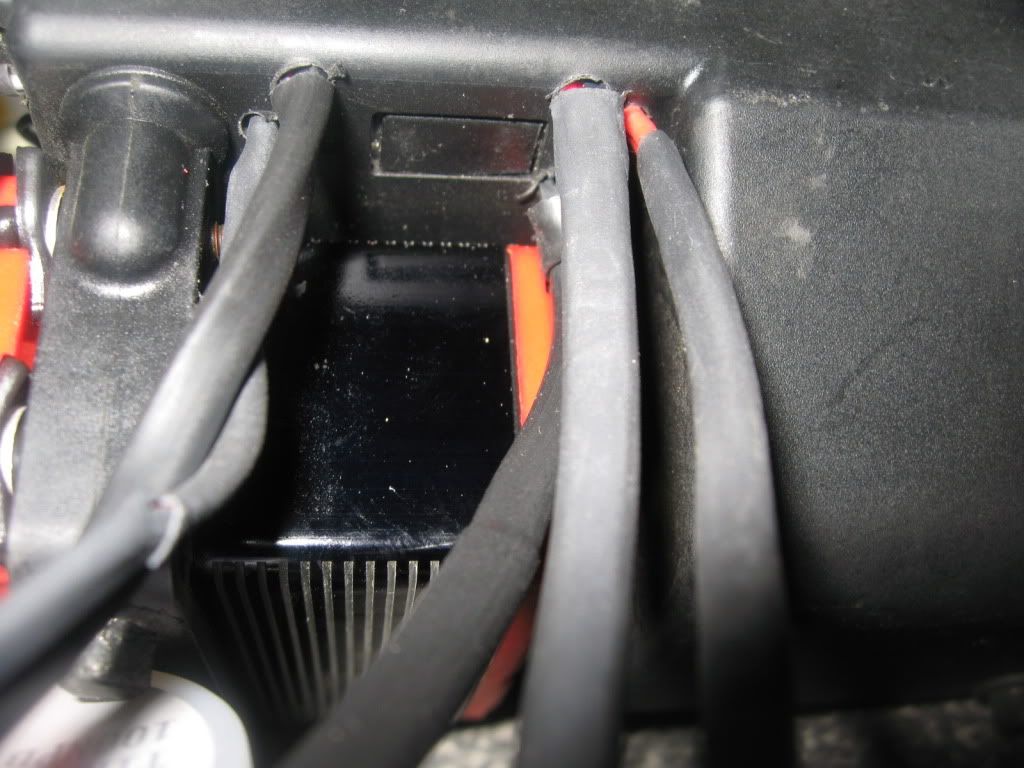
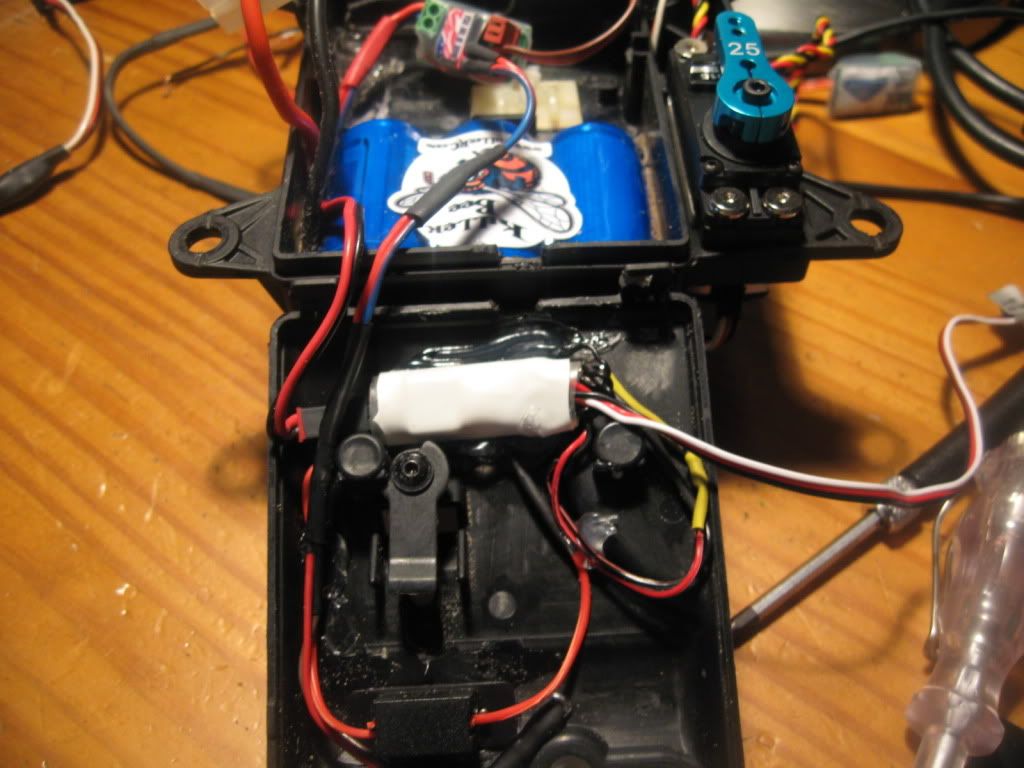
Warning:if you don't, like me use ALL the pins make sure you protect the pins that are not in use !!(you can drill 2 holes in a plastic object that fits over the pins that are not in use )
When you want to be able to take your receiverbox out,you will have to make connectors between the wires (like I did)
Here is a video off how its warns you if the receiver voltage gets to low
http://www.youtube.com/watch?v=62edFxoE4hQ
And here is the killswitch demo video
http://www.youtube.com/watch?v=b8BtFj8NqgM
the custom rear lights
http://www.youtube.com/watch?v=P4Qk-whj2Q0
the custom front lightpods(led,s)
http://www.youtube.com/watch?v=AdiTyr86cK0
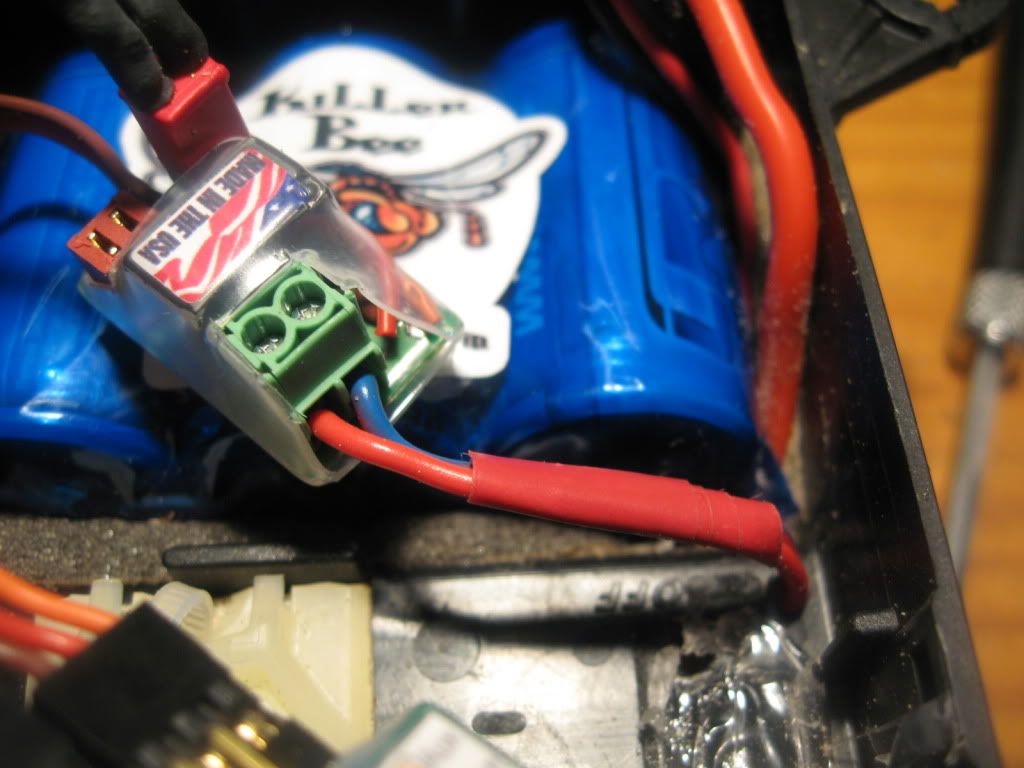
And just some random pictures (because a pictures says more the my English:lol: )
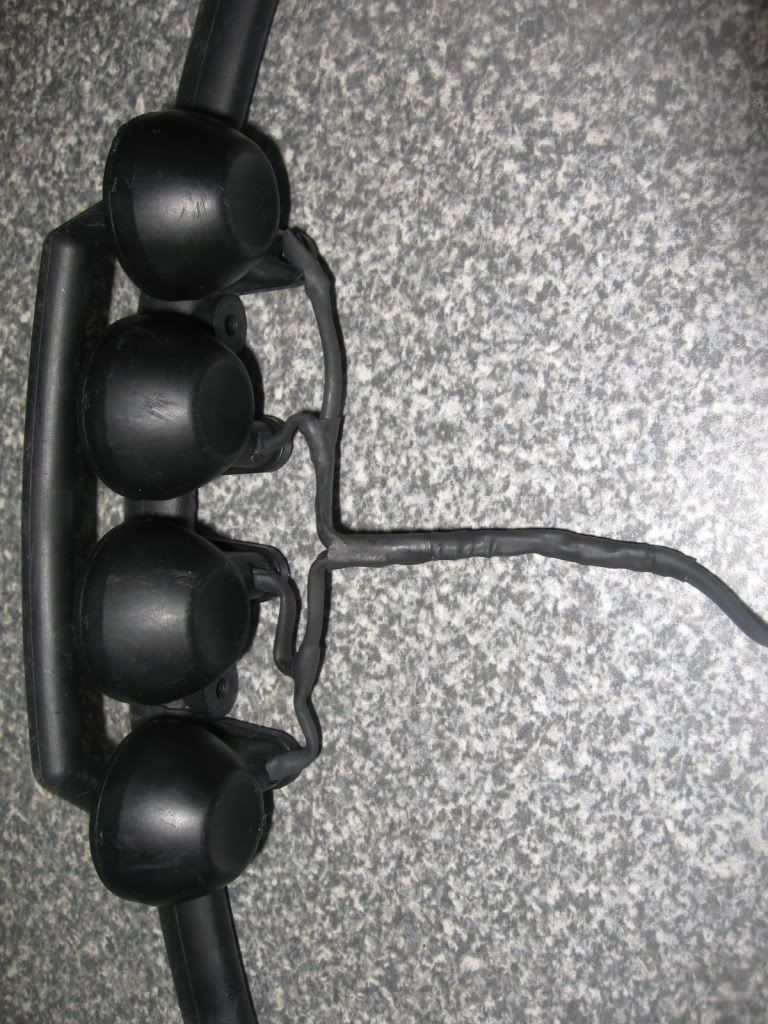
I will make a upgrade at my front light pods (2 of them are sh*t )soon and with a little extra :gunsmilie:
Jets auch am vorne blinkers gemacht (in orginale lightpods)
http://www.youtube.com/watch?v=AdiTyr86cK0
custom layout
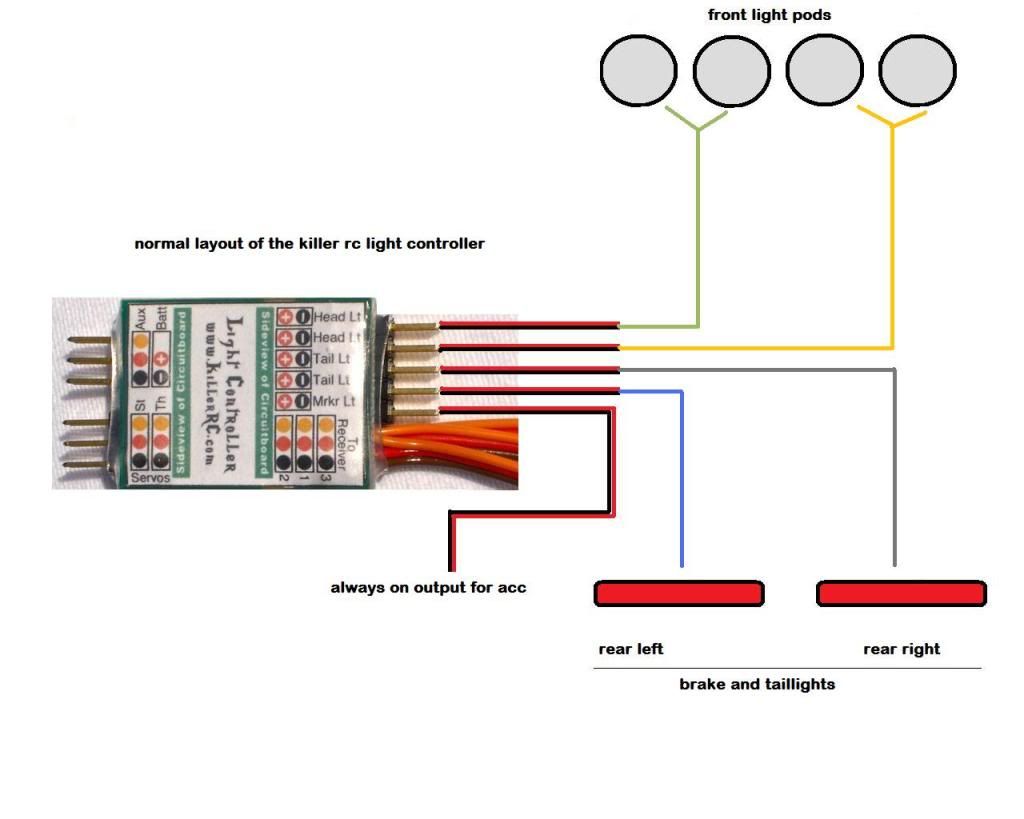
normal layout
Well for now that's all folks
I hope its useful to you
Gruss Rene


Hi ,this is my review of the new killer rc light controller and the killer rc killer bee V2s(the spektrum version) I use a spektrum DX3R
First of all, I did it the hard way by making the leds my own(the rear one,s)
You can easily buy the rear and front leds at killer rc and you save yourself some soldering time and hassle!
but if you are like me ,and like it to do something different,here is one of the many ways to do it !! the reason that I only use one rear light in the centre ,and attach t at the car is mainly because of power saving,and I wane take the body of without wires.
Enough said for now, first a video of the functions !!
http://www.youtube.com/watch?v=VEBVMVf2Mis
it the rear lights are a little bit different than the standard setting because I have split the leds and took some other colours at the back
yellow-red*/ red-red-red-red-red\ red*-yellow(every led has its own resist)
This means that the rear lights are divided into 3 sections
1>yellow-red* left
2>red-red-red-red-red(middle portion)
3>yellow-red* right
(red* is a different colour red)
Section1 and 3 is put to tail lt(left/right/brake)
Section2 is put into head lt (there are 2 head lt I have used the other for the front lightpods)
Whit this way you get the effect I used on my setup
the marker lt is now used by me for the transponder (thanks killer rc for the tip)but you can also use it for any other continue power use
on top of my receiver box you will see 2 red leds
the one close to the on/off button is the control led of the killer bee
,and the one near the charge plug is mine voltlimmiter led(i use a high voltage battery so need v6 volt limmiter to protect the servo,s)
Installation was a breeze ,indeed plug and play !!!!
Warning:if you don't, like me use ALL the pins make sure you protect the pins that are not in use !!(you can drill 2 holes in a plastic object that fits over the pins that are not in use )
When you want to be able to take your receiverbox out,you will have to make connectors between the wires (like I did)
Here is a video off how its warns you if the receiver voltage gets to low
http://www.youtube.com/watch?v=62edFxoE4hQ
And here is the killswitch demo video
http://www.youtube.com/watch?v=b8BtFj8NqgM
the custom rear lights
http://www.youtube.com/watch?v=P4Qk-whj2Q0
the custom front lightpods(led,s)
http://www.youtube.com/watch?v=AdiTyr86cK0
And just some random pictures (because a pictures says more the my English:lol: )
I will make a upgrade at my front light pods (2 of them are sh*t )soon and with a little extra :gunsmilie:
Jets auch am vorne blinkers gemacht (in orginale lightpods)
http://www.youtube.com/watch?v=AdiTyr86cK0
custom layout
normal layout
Well for now that's all folks
I hope its useful to you
Gruss Rene


